Published:
Last edited:
Securing My WordPress Site
Welcome to my process of securing a WordPress site. In this narrative, I’ll share my experiences and the steps I took to bolster the security of my WordPress website. From setting up two-factor authentication (2FA) and exploring the relevance of plugins (despite being on a basic subscription) to explaining why I decided against enabling SSH access and how I managed to set up regular backups without using plugins, I’ll walk you through my process. Join me as I navigate the world of WordPress security, sharing insights and lessons learned along the way.
Back To Basics
Like with most security, it starts with the basics. And of course one of the most foundational aspects of security is authentication security; with a good password and 2FA (Two-factor authentication). Every IT professional and especially security practitioner knows this.
But here’s where I messed up: in my fervor and excitement to create this site I neglected to set up 2FA until just before writing this article. About 2 weeks. A humbling realization, underscoring the fact that even those with a security focus can falter.
This experience serves as a reminder of the importance of having processes in place when establishing any new system. Written procedures act as a safeguard against oversights and hasty decisions, helping to mitigate potential risks before they materialize.
Luckily this is just a word press site with not much hosted on it, but this type of vulnerability could be a big problem on a more critical system. See my article about my honeypot deployment if you want to see an example of what happens when there is bad authentication security.
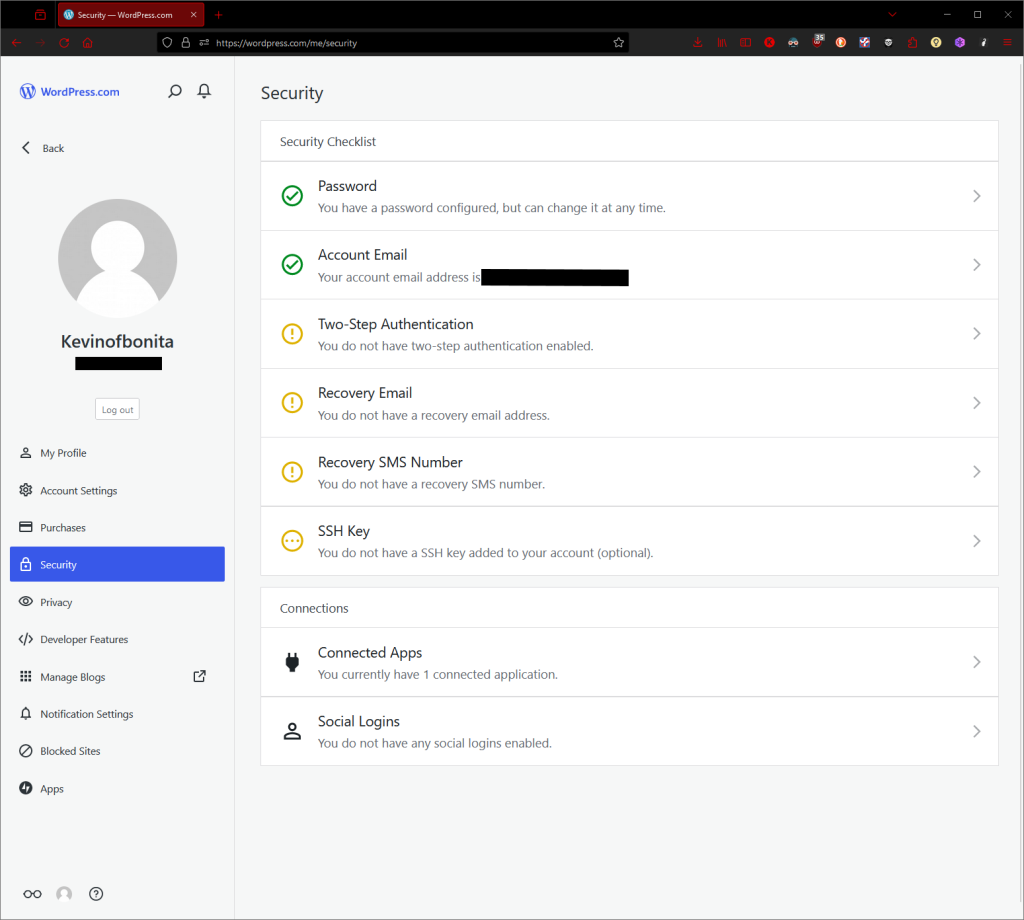
A great place to start was the security section. And this goes for most apps you’re looking to secure. Here, you can adjust things like passwords, 2FA, email, username, and more.
In the picture, you can see the options available for WordPress.
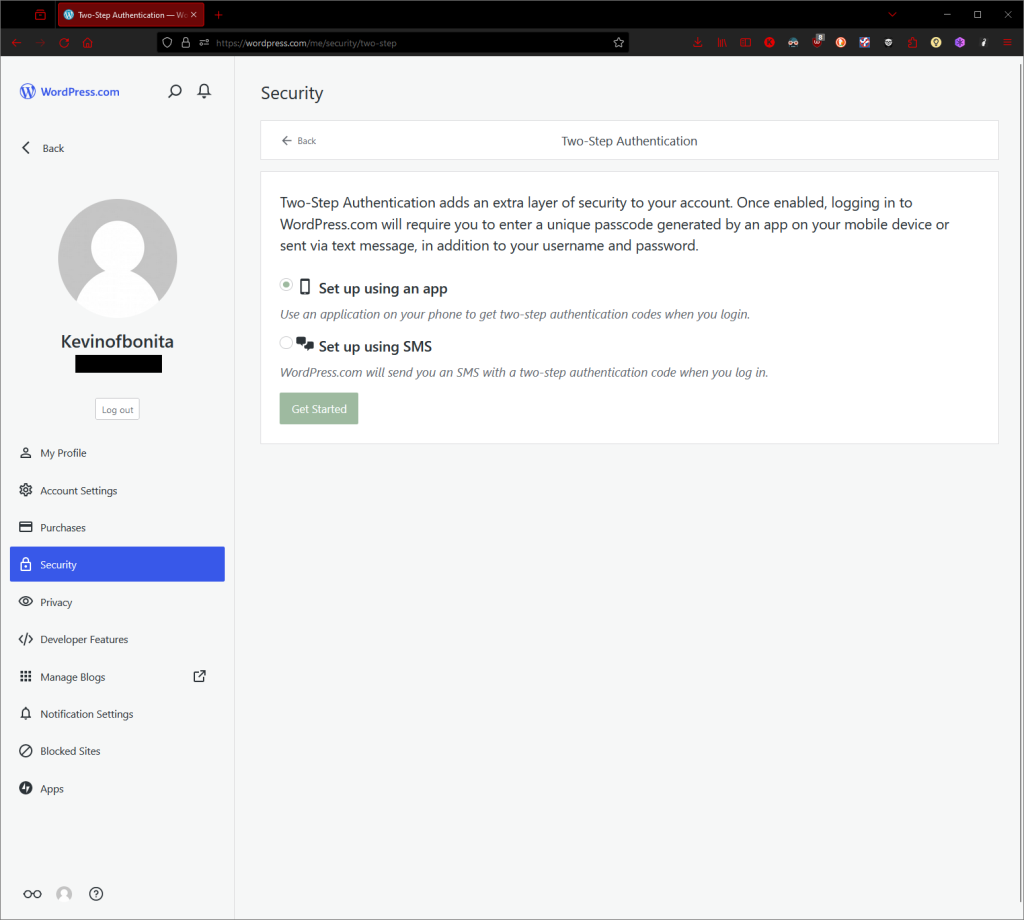
I registered 2FA using an authenticator app (I prefer it over SMS) and reset my password for good measure, ensuring it’s complex.
In addition to the authenticator app or SMS, I also generated recovery codes and verified them. Recovery codes, as shown in the picture, allow you to access your account if you lose access to your phone. Think of them as backup passwords. It’s important to note that they are only one time use.
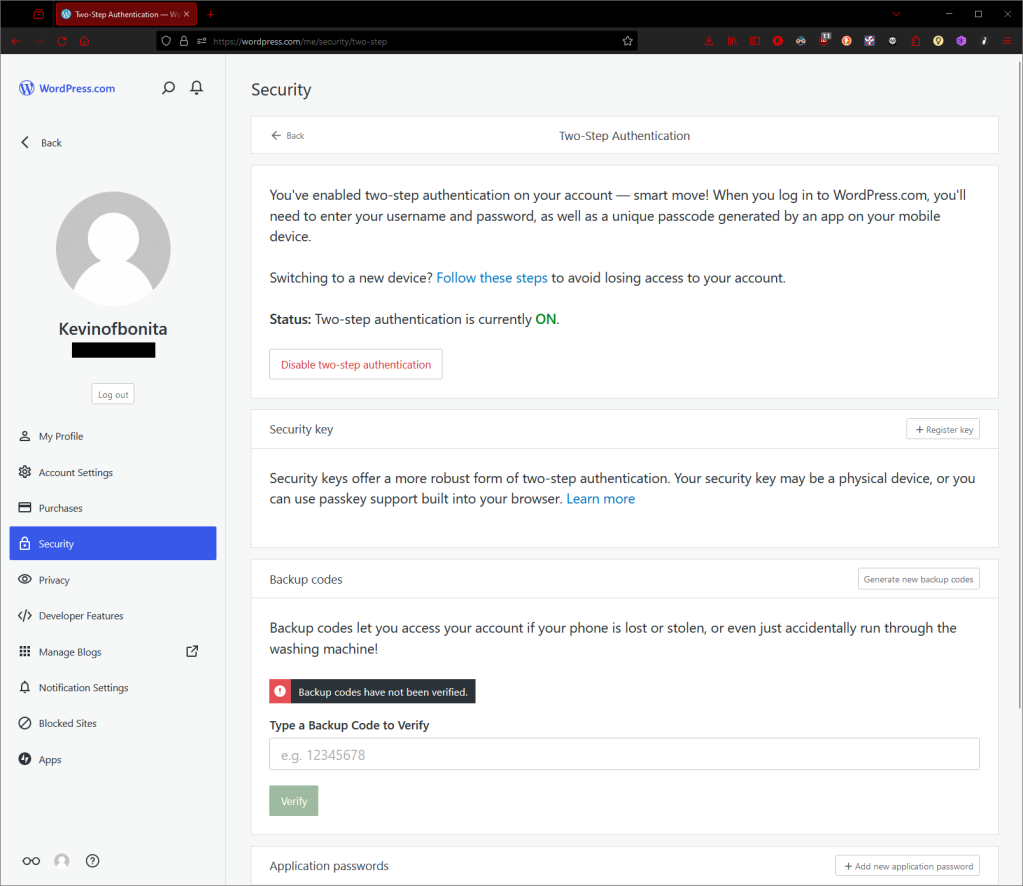
You will also notice the option for a ‘Security Key,’ which refers to hardware security keys or USB security keys. These physical devices offer an additional layer of security for accessing online accounts. Additionally, some browsers utilize your device’s built-in authentication features, such as Windows Hello on Windows devices, to verify your identity before allowing you to register a security key or set up authentication with the website. While these options provide enhanced security, I chose not to enable them at this time, as I prefer the convenience of accessing my site as an admin from my phone.
Backups
Backups are essential, but finding the right solution took some digging. Initially, I thought a plugin would be what I need. It’s what a lot of guides where telling me; only to discover that most required payment. After some more searching, it was clear that all plugins were out of reach due to my current WordPress subscription level.
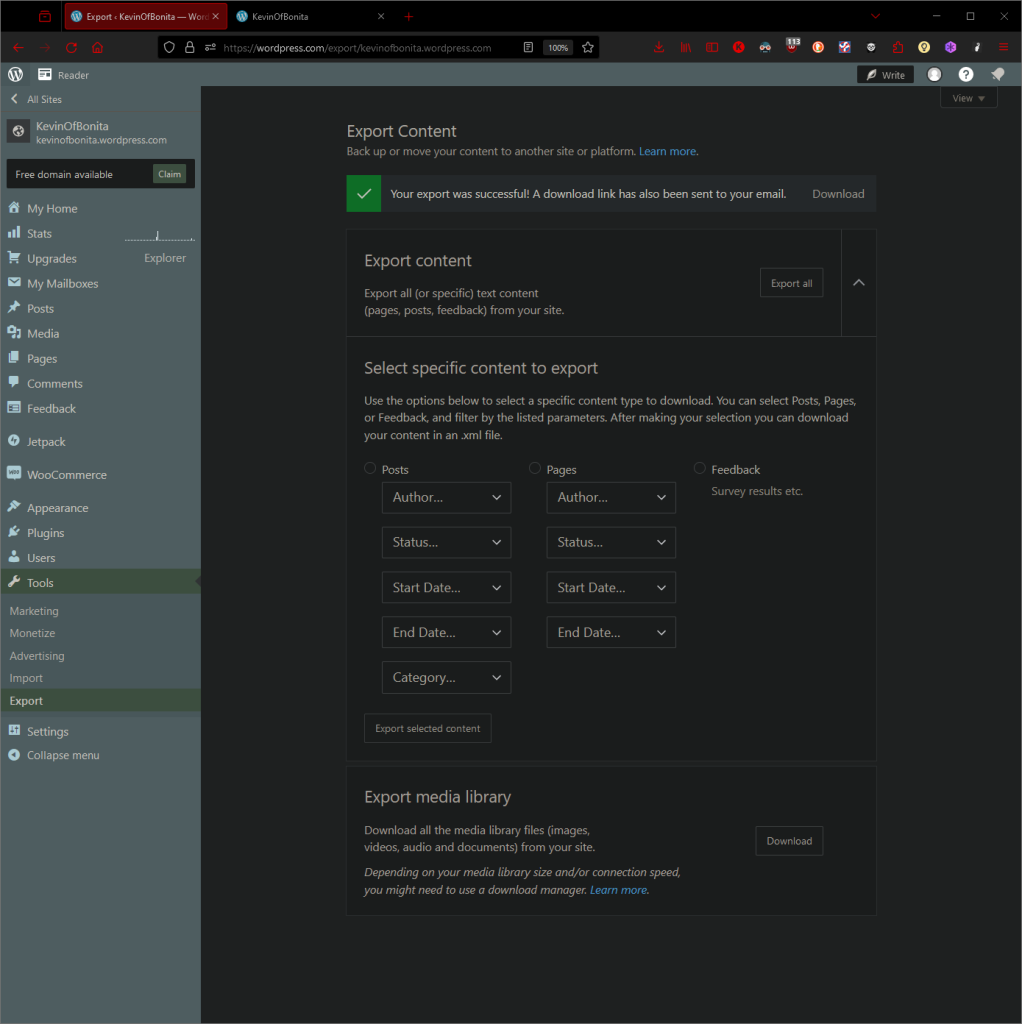
Thankfully, I found an alternative using WordPress’s built-in export feature. Under ‘Tools’ > ‘Export,’ I could generate a zip file of my website content with a few clicks. Once prepared, I downloaded the backup file. Backup Secured.
How I Would* Continue To Secure My WordPress Site
Upon researching methods to secure WordPress, I found several measures already integrated into the platform or beyond my current subscription level. While I couldn’t implement them, they’re still crucial to website security.
One measure is ensuring PHP and plugin updates, which WordPress handles automatically. So there was nothing for me to do here, but it’s important to keep these up to date.
Additionally, another important consideration is HTTPS, a standard for most websites, especially those hosting sensitive data like banking, or electronic health records (EHR). HTTPS stands for Hypertext Transfer Protocol Secure, indicating that websites are encrypted. For instance, when entering credentials on a site, they remain unreadable if intercepted during transmission.
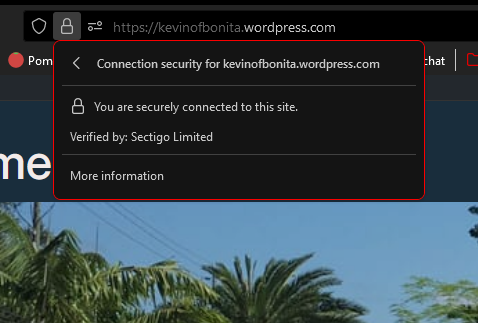
There’s also SSL certificates, or Secure Sockets Layer certificates. They are digital certificates that encrypt data and secure internet connections. They enable websites to use HTTPS, which encrypts data transmitted between the website and the visitor’s browser, ensuring secure communication. In essence, SSL certificates protect sensitive information and verify the identity of websites, making online interactions safer. They serve as a form of authentication, ensuring encryption and trustworthiness for websites. WordPress utilizes certificates from Sectigo Limited, a certificate authority.
You see any site’s SSL certificate by clicking on the lock icon then “Connection secure” in the address bar.
Another security tool I discovered in my research was limiting logins. This restricts access attempts and mitigates brute-force attacks. Unfortunately, I couldn’t enable this due to subscription limitations.
Speaking of restricting access, another consideration is the implementation of a Web Application Firewall (WAF). A WAF monitors, filters, and blocks HTTP traffic to and from a web application, safeguarding it against various cyber threats such as SQL injection, cross-site scripting (XSS), and other malicious activities. It works by analyzing incoming web traffic and mitigating potential security risks. While WAFs offer robust protection, their deployment requires plugin installation or server-side configuration, which was not be accessible at my subscription level.
Lastly, disabling directory listing prevents public access to directory contents, enhancing privacy and security. Directory listing is when a website displays the contents of a directory when a default webpage (like index.html) is not present. Essentially, when someone accesses a directory on a web server through a browser, the server may show a list of files and folders within that directory. This can potentially expose sensitive information about the website’s structure and contents to visitors.
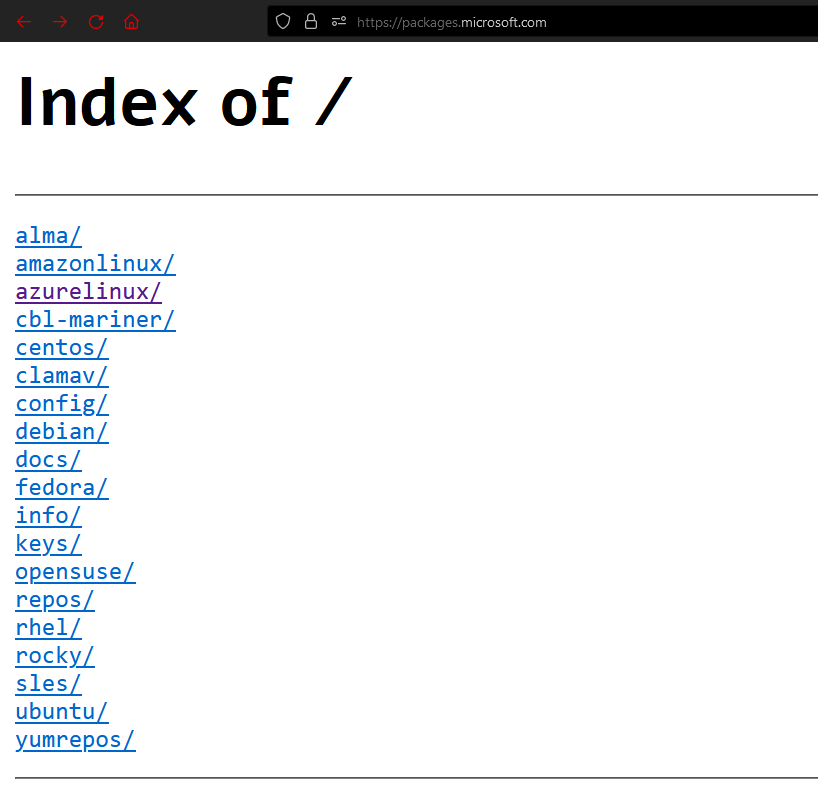
For fun you can test out bringing up the index of websites by searching “Index of: (Website Name)”. Here you can see I did Microsoft.
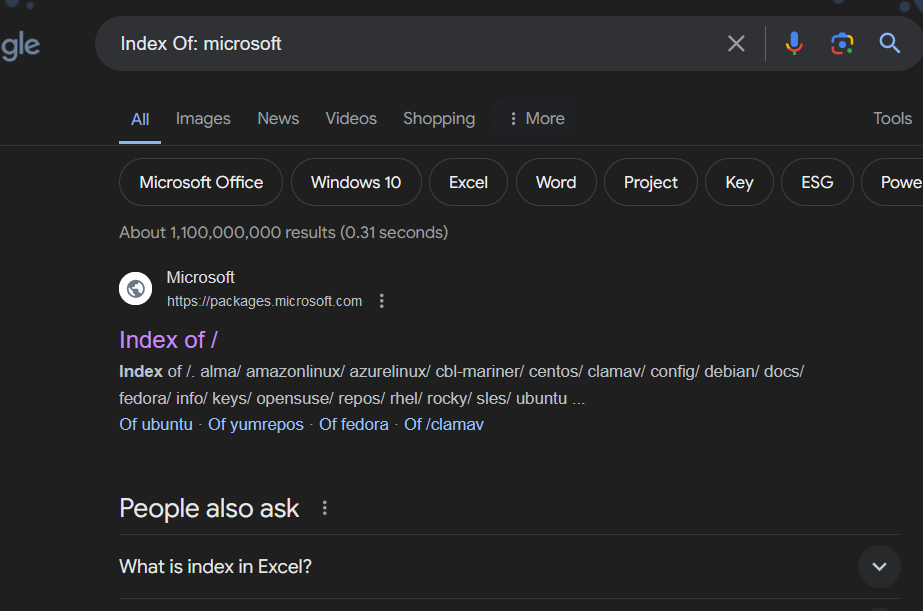
I found an index of their packages!
Disabling directory listing involves configuring the web server or using .htaccess files to prevent this behavior. Instead of showing the directory’s contents, the server will return an error message or a blank page, thereby enhancing privacy and security by preventing unauthorized access to sensitive files and directories.
While this measure wasn’t feasible for me, it’s an important consideration for site owners seeking further protection.
Although my efforts to bolster my site’s security weren’t exhaustive, they shed light on crucial aspects of safeguarding it. Although constrained by my current subscription level, I was able to fortifying my site’s defenses by implementing the basics.
